Users are created to access both the back of house application and point of sale terminals. They can be assigned to either one role type or both.
Users Topics
Adding Users
Follow these steps to add back of house users:
-
Click Add
-
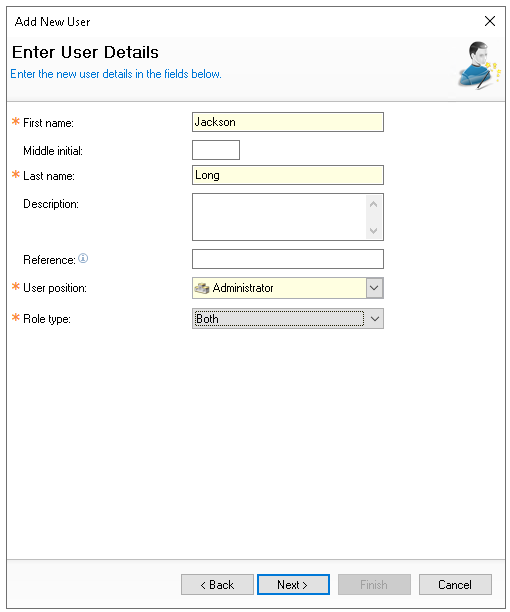
Enter the following user details, First Name | Middle Initial (optional) | Last Name | Description (optional)
-
Select the User Position
-
Select the Role Type
-
Front of House - will continue the setup for just front of house (point of sale terminal users only)
-
Back of House - will continue the setup for just back of house
-
Both - will continue the setup for both role types
 In this example, Both is selected. As you continue through the step by step wizard, you will be prompted to enter information for both role types. If only one role type is selected, the wizard will display only the steps relevant to that role
 -
-
Click Next
-
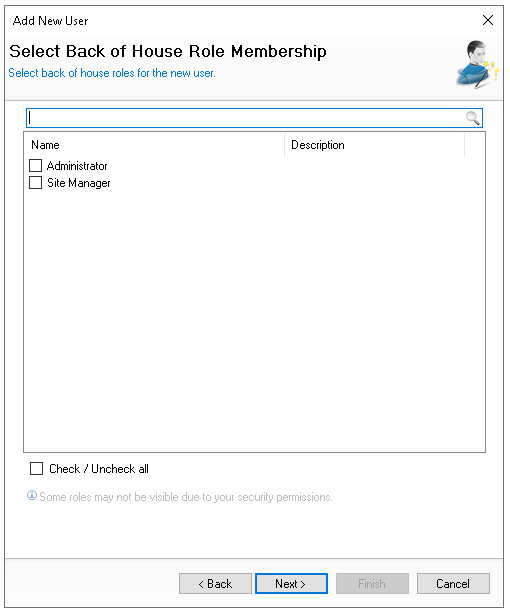
Select the required Back of House Roles
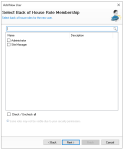 Depending on how roles are configured in your setup, a user can be assigned one or more roles
 -
Click Next
-
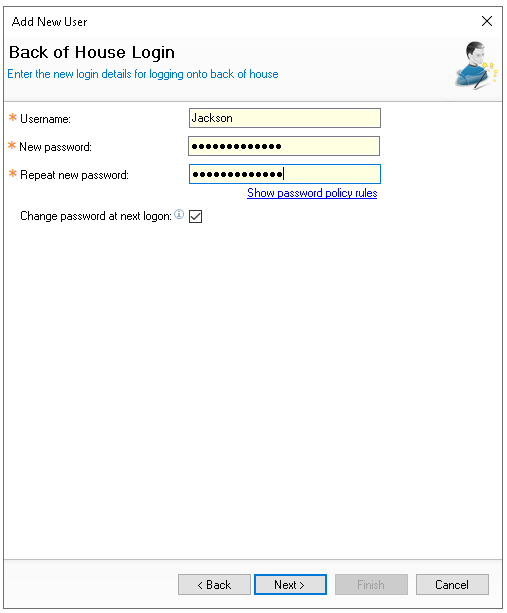
Enter the back of house login details
-
Username (update as required) - taken from the first name entered
-
New Password
-
Repeat Password
Passwords must following configured password policy, more information can be found by clicking 'Show password policy rules'
Zonal recommends always setting an initial password and then requiring the user to change / set their own password on login keeping the change password setting enabled
-
-
Click Next
-
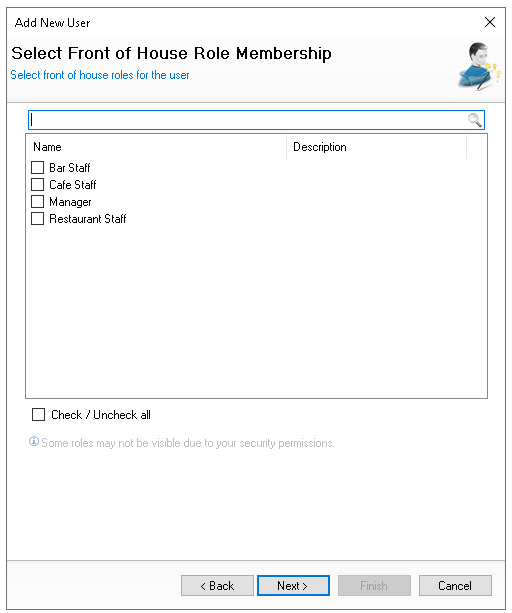
Select the required Front of House Roles
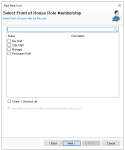
-
Click Next
-
Enter the front of house login details
-
Username (update as required) - taken from the first name entered and is displayed on the point of sale and printed materials
-
ESL - Identification of a Dallas Key or Card Swipe
-
Attach a Dallas Key to the reader | click Read
-
-
New PIN
4 digit PIN numbers are used to login to point of sale terminals, iServe, selected PIN Pads -
Repeat New PIN
Either a ESL or PIN number is required before being able to finish the setup
-
-
Click Finish
-
From the User Details screen the following updates can be made
-
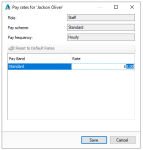
Change the Pay Scheme for assigned Back of House Roles
-
Change the Pay Rate if roles are configured for site overrides | click Pay Rates and set as required
-
Change the Default Terminal Role (if more than one back of house role was assigned)
-
Change other settings across User Details (or other tabs included within the setup)
-
-
Click Save

Editing Users
Follow these steps to edit users:
-
From the User List make a selection
-
Select an existing user
-
Enter a search filter
-
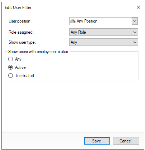
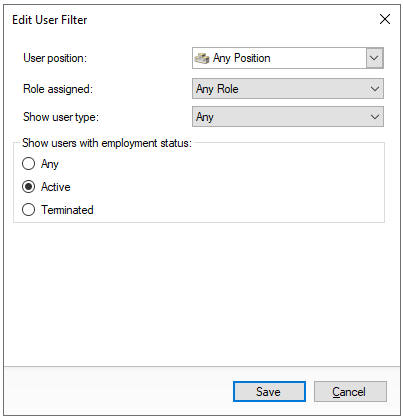
Click Edit Filter | make a selection | click Save
-
User Position
-
Role Assigned
-
User Type
-
Status
-
-
-
Update any User Details or other settings as required
-
Click Save
Terminating Users
Back of House Users
Follow these steps to terminate a back of house user:
-
From the User List make a selection
For help in making a selection review the Editing Users section above -
Click Terminate
-
Select Yes to confirm the termination
-
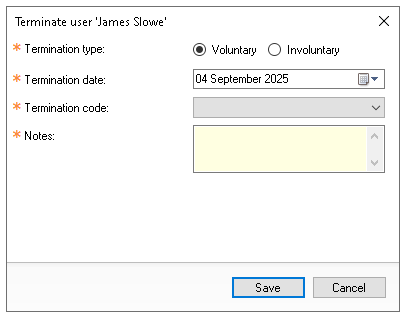
Select the required termination information
-
Type
-
Date
-
Code
-
Notes
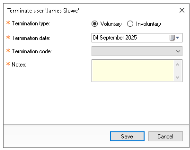
-
-
Click Save
Front of House Users
Follow these steps to terminate a front of house user:
-
From the User List make a selection
For help in making a selection review the Editing Users section above -
Click Terminate
-
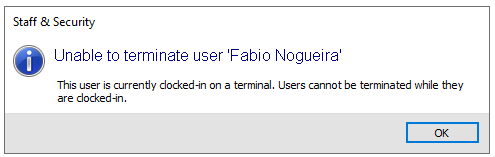
Confirm the Terminate User option by selecting Yes
If the employee is still clocked in you will be prevented from terminating the employee and any activate accounts must be closed or transferred and a clock out completed

-
Select the required termination information
-
Type
-
Date
-
Code
-
Notes
-
-
Click Save
Reinstating Users
When a user has been terminated it is possible to reinstate them either to correct a mistake or where someone has returned to the business.
Follow these steps to reinstate a user:
-
Click Edit Filter
-
Select Employment Status Terminated | make a other selections as required | click Save
-
Click Reinstate User
-
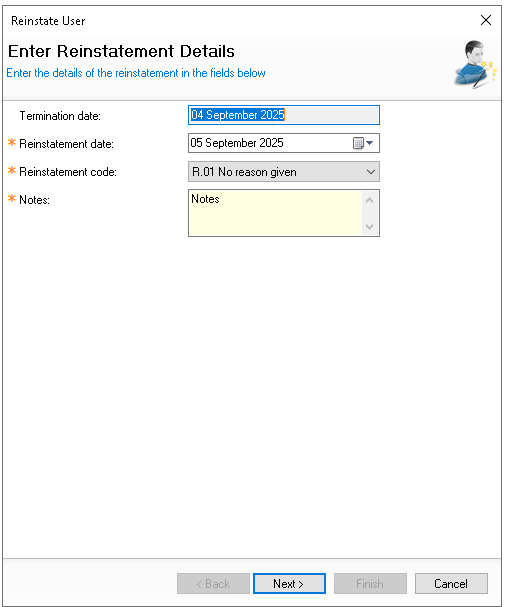
Select the required reinstate information
-
Reinstatement Date
-
Reinstatement Code
-
Notes
-
-
Click Next
-
Reconfirm User Details
-
Reconfirm Roles for both Back / Front of House (as they were previously set)
-
Enter any Login Details
-
Click Finish